Sunday, May 15, 2022

From the archives: Chalkboard Easels

Recently, someone left a comment to let me know about a broken link to a tutorial in a guest post. The tutorial was for my chalkboard/dry-erase board easels we'd made for Emily's school party in 2011, and it had been featured on a site called Whip Up. Apparently Whip Up no longer exists, so there was no way to access that tutorial. 

Fortunately, I still had the original email I'd sent to Whip Up containing the tutorial (instructions and photos!) so I'm bringing it home to ikatbag. Here you go:
_________________________________________

Hello everyone! My oldest daughter Emily is having a birthday party in September and one of the crafts are these cardboard easels made from pizza boxes. Long ago, I made largish tabletop easels, inspired by Maya's original easels. My girls loved them - we taped paper to them and they went wild with their paint brushes. For the party, I thought mini-easels would be the perfect size for the guests to make and decorate. 


This being a school-themed party, we're making them two-in-one: chalkboard on one side, and dry-erase board on the other. We're also throwing in a homemade eraser and some dry-erase markers and chalk that store inside the easel when it's closed. 

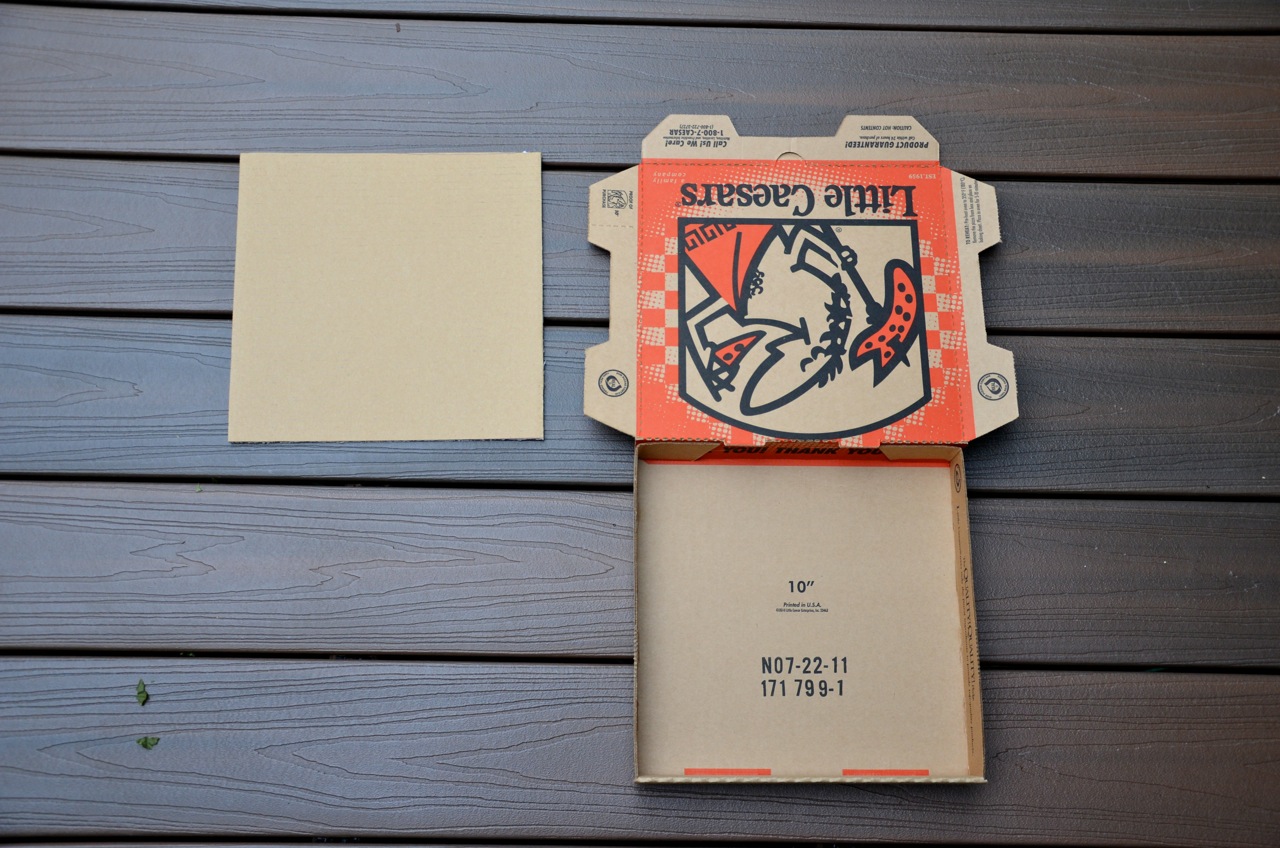
Because I couldn't find 14 small pizza boxes, I had to cut and assemble my own boxes. Obviously, you don't have to make yours from scratch - it should be easy enough to save one pizza box from a meal!

You will need:
  • One small pizza box (ours was a 10")
  • Extra piece of corrugated cardboard the same size as the top of the pizza box
  • One milk (or juice) jug cap
  • One small piece of foam (we used high-density)
  • Chalkboard contact paper 
  • Dry-erase contact paper 
  • The usual suspects: craft knife, scissors, hot glue gun

Note: You can buy chalkboard contact paper and dry-erase contact paper online (try amazon) and at some craft stores. An alternative is to use chalkboard paint and regular clear contact paper over white card stock.

Step 1
Glue down the center flaps of the pizza box so the four shallow walls of the board are upright. 


Step 2
Cut a piece of corrugated cardboard the same size as the top of the pizza box. 


Hot-glue this to the front flap (the one that tucks into the front of the box) 


This is the finished bare easel, with its flap tucked into the base: 


Step 3
Cut a piece of dry-erase contact paper to size, peel and stick it onto one side of the open easel. 


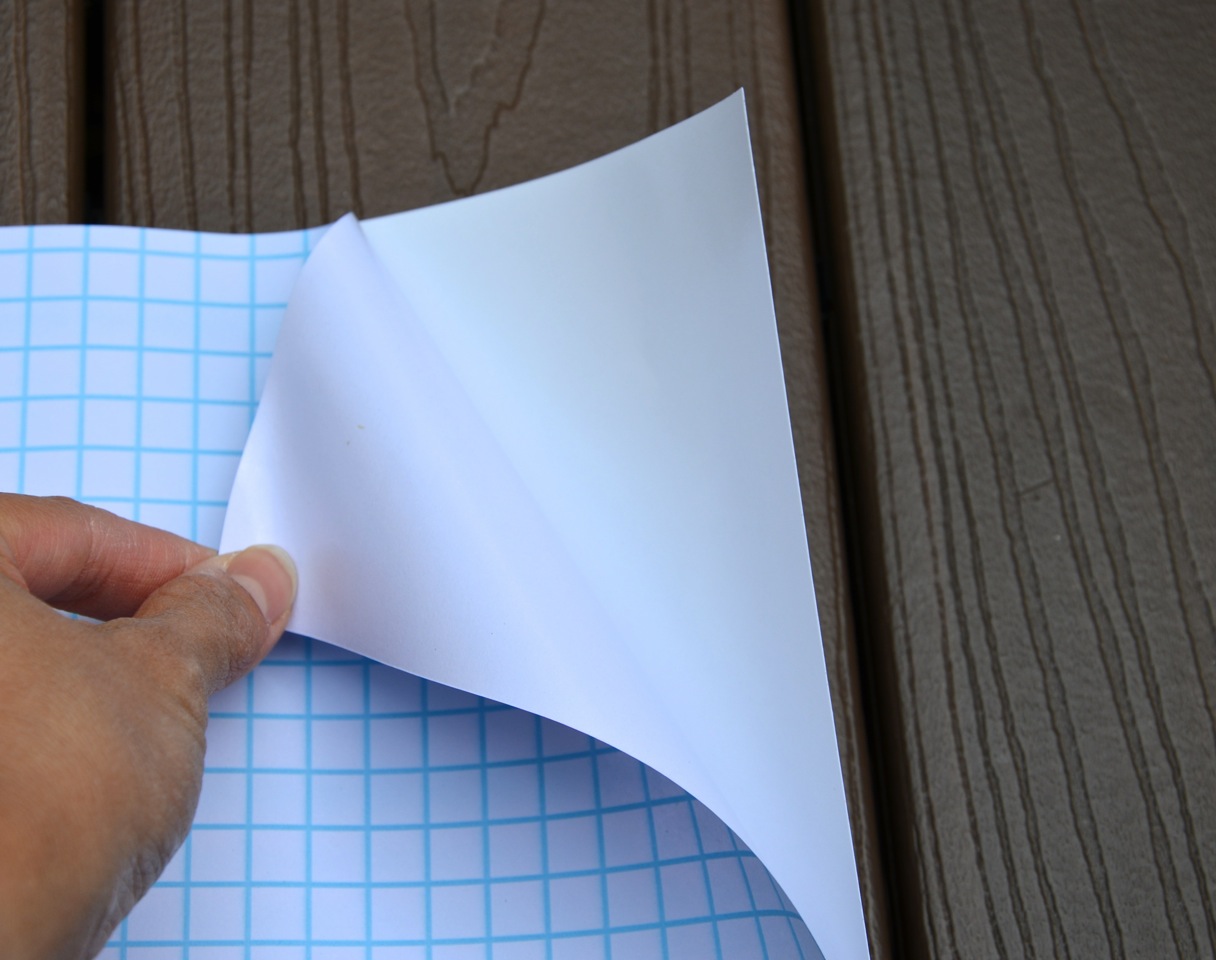
Repeat for the chalkboard contact paper, sticking that to the opposite side of the open easel. 


The easel is completed! 


Step 4
Cut a piece of foam so that it is bigger than the milk jug cap. This piece will fit nicely inside the cap, but it will be too tall.


You can trim yours to the right height, and to a more aesthetically pleasing shape if you like.


Step 5
Hot glue the foam piece to the inside of the cap, 


squeezing it in so that it expands and fits snugly inside the cap. 


This works really well with the dry-erase side of the easel 


but we found that we had to dampen it a little to get the chalkboard absolutely clean.

Add chalk, dry-erase markers and play school! 


Or write silly messages to no one in particular. 


When you're done playing, store everything inside the easel, 


fold and shut the lid, 


and put it away for another day. 


Tuesday, May 10, 2022

Concert Black


photo credit: Bill Kotrba

Finally remembered to post about the dresses which I made chickens in order to procrastinate on sewing (I will get back to this later).

Some months ago, Emily informed me that there would be concerts happening in her music world, and some were fancy enough to require a floor-length, sleeved gown. So naturally we both sat on the task until it became dangerous to delay further, at which point sheer terror forced me to sit down to plan and design it. 

There was sketching, plus some ballpark-esque measuring, viz:


The left diagram was what I suggested: set-in sleeves on a classic A-line shift silhouette. The right diagram was what Emily wanted: raglan sleeves integrated into the neckline. The sleeves were to be chiffon (or some other sheer fabric), which meant every seam or dart or tuck would be visible. The practical side of me attempted a reality check: Um, Maybe If We Had Like Six More Months To Tweak The Fit? The side of me that loves a challenge ignored it. 

And I went shopping to gather the materials.

Let's not be deceived by how streamlined and efficient a process that sounds, friends. Because between the sketching and the buying was an extended period of lounging around and incubating, then acting on, creative stirrings completely unrelated to garment-making. You can read the long version here. Summary: chickens. Lots of unwarranted chickens. And a pattern to make even more chickens. 

At some point, I came to my senses and finally buckled down to make this dress, beginning with decent measurements to draft an updated sloper. Sloper completed, I thought I should make a test-dress. Like a muslin, but with nice fabric. Which sounds like good garment-making practice, except no one actually makes a completely finished dress out of the muslin, especially when one is pressed for time. Unless one is still procrastinating, I mean. 

The sewing room mid-sew

Now, Emily had also shown me an alternative, second-choice design to fall back on should the Actual Dress prove too fiddly to make, and that became the test-dress. The design was very simple: A-line skirt, short flutter sleeves, a square neckline. And in-seam pockets, because all formalwear should include those; men's dress trousers (and any kind of men's bottoms, really) certainly do.


I used some Ponte - a sturdy double-knit - which didn't require a lining beyond the standard facings. It was a fast sew but when I'd finished it, I beheld it with the exasperation of someone having just made a completely unnecessary thing and was now was obliged to justify it. Like, if Emily had to play in another concert someday which required floor-length gowns without long sleeves.

photo credit: Bill Kotrba

Because it was now The Week Before The Concert and we still didn't have what she needed.

And I'd officially exhausted all other means of procrastination.

I drafted the dress. 

The mental roadblock was the sleeves. Typical set-in sleeves would've been easy; raglan sleeves integrated into the neckline, in a translucent fabric, could not easily hide the darts, bunchy elastic gathers or additional seams which would be necessary to fit such sleeves over the shoulders, upper chest and neck. I tried shaping with just seams initially. The first sleeve draft, which I tried to do intuitively in order to save time, was disastrous.


Which led to late-night emergency chat sessions with my friend Jen (professional tailor, therefore wielded magic, I always felt), who suggested returning to first principles to get a better draft. 


Which I then did. Much better, and I could tell just by looking at the shape of the thing:


But two, three sleeve muslins later, the fit was still funky, because I was still avoiding the more visible shaping mechanisms like elastic and darts. It soon became evident that it would take a fair bit more time to tweak the sleeves to the extent that they could be successfully worn, let alone moved in vigorously to work an instrument.

So with days to spare, we compromised and fell back on my original design of set-in sleeves - a tad more matronly than instagram-chic, but wearable and infinitely more comfortable for arm-raising and pumping a trombone slide. Here is Emily in the dress. And yes, there are in-seam pockets also, of course.


Now Emily has two gowns between which to toggle for her various concerts, a fortuitous* side-effect of my avoiding and overcompensating, which is somehow both tragic and ridiculous. I am happy to report that enough new musical opportunities have arisen that she has been able to wear both gowns several times. Whoo! 


*how I pretend that procrastinating isn't 100% useless